
Care and maintenance
Proper care and maintenance will help preserve the beauty and performance of your Nevara cabinets. By following recommended cleaning and care guidelines, you can protect the finish and ensure lasting durability in everyday use.
Go back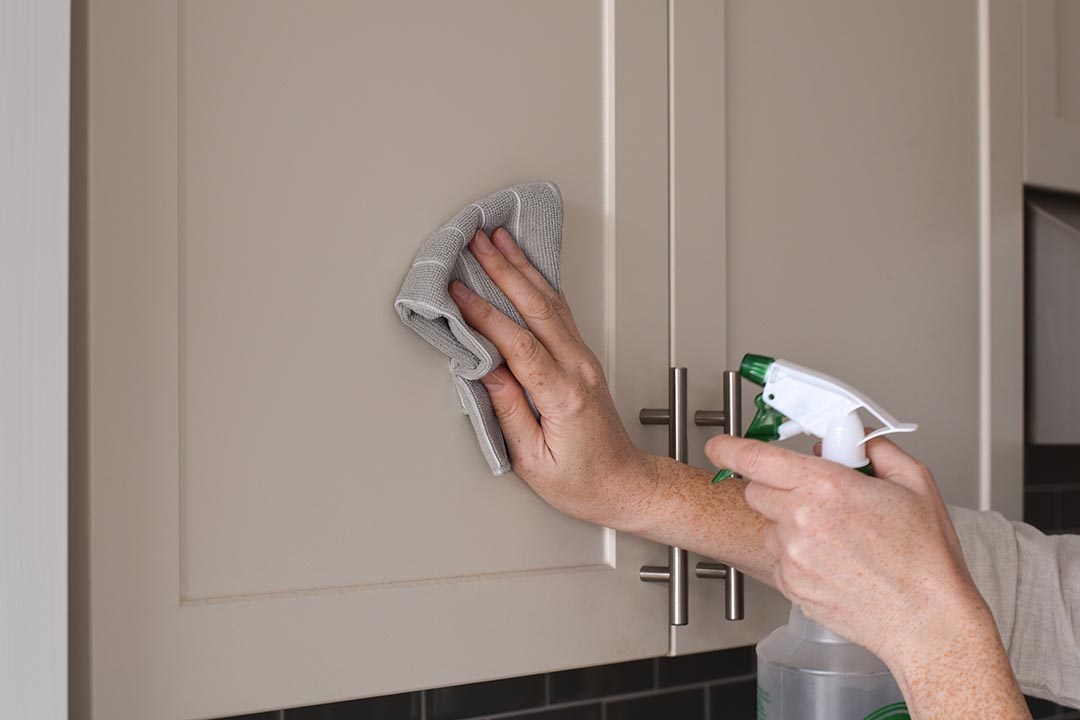
Materials needed
- Mild dish soap or wood cleaner
- Warm water
- Microfiber cloths or soft rags
- Sponge
- Baking soda (optional for stubborn stains)
- Vinegar (optional for disinfecting)
- Old toothbrush or soft-bristled brush
- Vacuum with a brush attachment (optional)
- Wood polish or furniture wax (optional for wood cabinets)
- Rubber gloves (optional)
- Bucket or spray bottle
Step-by-step guide
.
Empty the cabinets
- Remove all items: Start by taking everything out of your cabinets, including dishes, food items, and any shelf liners.
- Sort through items: This is a good opportunity to discard expired food, donate unused items, and reorganize.
.
Dust and vacuum
- Dust the interior: Use a microfiber cloth to dust off any loose debris or crumbs.
- Vacuum (optional): If your cabinets have a lot of crumbs or dust, use a vacuum with a brush attachment to clean the inside, especially in the corners.
.
Prepare cleaning solution
- Mild solution: Mix a few drops of mild dish soap with warm water in a bucket or spray bottle. For wood cabinets, you may prefer a wood cleaner.
- Vinegar option: If you want to disinfect, mix equal parts vinegar and water. Avoid using too much vinegar on wood, as it can damage the finish over time.
.
Clean the interior
- Wipe down: Dip a microfiber cloth or sponge into the cleaning solution, wring it out well, and wipe down the interior surfaces of the cabinets.
- Scrub stubborn spots: For sticky spots or stains, you can make a paste with baking soda and water, apply it to the area, and scrub gently with a soft-bristled brush or old toothbrush.
- Rinse: After cleaning, wipe down the surfaces with a clean, damp cloth to remove any soap residue.
.
Clean the exterior
- Wipe the doors: Use the same cleaning solution to wipe down the cabinet doors and handles. Pay special attention to areas around the handles, as these tend to accumulate grease and grime.
- Tackle grooves and details: Use an old toothbrush to clean in any grooves, corners, or detailed areas on the cabinet doors.
- Rinse: Wipe with a clean, damp cloth to remove any remaining cleaner.
.
Dry the cabinets
- Dry thoroughly: Use a dry microfiber cloth to thoroughly dry all surfaces, especially if your cabinets are wood, to prevent any water damage.
.
Polish or wax
- Apply polish: If you have wood cabinets, you may want to apply a wood polish or furniture wax. Apply it with a soft cloth according to the product instructions.
- Buff: Buff the surface with a clean, dry cloth to bring out the shine.
.
Replace items
- Reorganize: Once the cabinets are dry, replace the items you removed. Consider reorganizing or using shelf liners if you haven’t already.
.
Final touches
- Clean the handles and knobs: Wipe down handles and knobs with a cloth dipped in your cleaning solution. Dry them thoroughly.
- Step back: Take a final look to ensure all areas are clean and that no spots were missed.
Tips
- Regular Maintenance: Regularly wipe down cabinet exteriors to prevent grime build-up.
- Use gentle products: Avoid using harsh chemicals.
- Spot test: Always do a spot test in an inconspicuous area before using any new cleaning solution on your cabinets.